 » Site Navigation » Site Navigation | | | | » Recent Threads | | | |  |  |  | |  09-23-2010, 08:17 AM 09-23-2010, 08:17 AM | #601 | | Senior Member Join Date: May 2007 Location: LA, Bellflower, CA Posts: 3,613 |
alright. let me know when i can pick up the wheels. i wanna see how it'll look on my ti.  i probably need spacers for the fronts to clear the calipers don't i? __________________ 
-Theta Chi-
Float like a cadilac, sting like a BIMMER
.... my socket is just too thick and won't fit in the hole! damnit!
Marv's 332ti is in the werks. Stay tuned ya'll  ... ...
Check list: S52 swap, manual transmission swap, 3.25 LSD with M Coupe diff cover, SuperSprint muffler, M3 style mirrors, AFE intake, ASC delete, M50 Manifold swap, UUC strut bar, ZHP lighted knob, Vaders, M-tech interior, OEM armrest, AC Schintzer front lip, AC Schnitzer rear spoiler, Roof spoiler, 18'' rims, M3 front drilled brakes, LED interior lights, 3 spoke Euro style steering wheel, OEM roof spoiler and bike holder, Thule fairing, Euro tail lights, oil pressure guage, carbon fiber hood painted to original paint (still showing CF weaving), what's next to do...? |  |  | | 09-23-2010, 06:19 PM | #602 | | Member Join Date: Aug 2010 Location: Maryland Posts: 41 |
I started reading this thread last night, and just finished thismorning. I was sure when I saw that the project started two years ago it would be done, and I'd get to see the finished product at the end of these 40 pages.
I am more than bummeeedd. I want to see this car now. | | | | | 09-23-2010, 07:08 PM | #603 | | Senior Member Join Date: Nov 2007 Location: Rocky Hill, CT Posts: 1,065 | 
Quote: Originally Posted by cooljess76  budget76, I'll definitely take you up on that offer. I already have the Vanos wrench. Need to check, but I don't think my LTW flywheel has a hole for the crank locking tool. I'd like to get ahold of one of those gauges that tells you where TDC is(or maybe it reads valve clearance?). Here's where I think I messed up, I didn't have the chain tensioner, so I stuck a ratchet handle through the hole and had a friend apply steady pressure while I tightened the cam sprocket bolts. The other thing that might have messed me up was the aluminum plate that I cutout from the template in the haynes manual might have flexed while I was tightening the bolts. Now that I have the milling machine and some thicker material, I should be able to make a sturdier cam locking tool. But I will need the chain tensioner and maybe the crank locking pin if you have them. | Jess, FWIW I didn't have anything to keep the cams in place. I just used the method posted either on Pelicanparts or a writeup on BF.C where you use a straight edge (I used a metal ruler) to ensure that the cams are ''square'' with each other, dots up IIRC. LMK when you need them and I'll get dad to ship em out. I'm pretty positive the ltw flywheels don't have a spot for the cam locking tool. I may have him send you all the tools and have you send them to me, that way I can start renting em out on BF and make some of the $$ back I spent on them. __________________
1995 318TI base. 95 2.5L from 325IS. S50 cams+pistons, e36 M3 front brakes. H&R race springs F+R. Turner Motorsport front sway bars, M3 control arms. M Roadster rear sway bar. Racing Dynamics strut brace. e36 325i 5spd. 3.25lsd from e28 535is. M Roadster short shifter. Conforti chip. | | | | | 09-23-2010, 09:16 PM | #604 | | NOBODY F's with the Jesus Join Date: Oct 2006 Location: Ventura California Posts: 7,824 |
Quote: Originally Posted by budget76 Jess, FWIW I didn't have anything to keep the cams in place. I just used the method posted either on Pelicanparts or a writeup on BF.C where you use a straight edge (I used a metal ruler) to ensure that the cams are ''square'' with each other, dots up IIRC. LMK when you need them and I'll get dad to ship em out. I'm pretty positive the ltw flywheels don't have a spot for the cam locking tool.
I may have him send you all the tools and have you send them to me, that way I can start renting em out on BF and make some of the $$ back I spent on them. | Yeah, but remember how un-square my cam ends are? I didn't use a straight edge because the vertical surfaces were machined on the cam ends, not the horizontal surfaces, meaning that the surfaces that are perpendicular to the head profile are machined, not the sides that run parallel. I couldn't see why BMW would machine the sides of the cam ends if they didn't want you to use them, plus the sides of the cam ends are what contacts the cam locking tool, not the tops and bottoms. It's weird that your cams didn't move when you were torquing down the sprockets. Especially since you didn't have anything holding them in place except for a straight edge across the top. Yeah, IDK how I'm going to lock the crank at TDC with my LTW flywheel installed. I gave my old flywheel to Bluebimma, but I want to drop the motor and tranny in together as a unit anyway. I think I'm going to have to get a valve clearance gauge, that's what most performance tuning shops use since it gives a more precise reading where TDC is. | | | | | 09-23-2010, 10:00 PM | #605 | | Senior Member Join Date: Nov 2007 Location: Rocky Hill, CT Posts: 1,065 |
I hear you on the twisting/turning, it took me a couple shots to get it right. I wound up having dad hold one of the ends with a 12" adjustable wrench, and checked alot of times to make sure they didn't move. It may not be perfect, but she revs to 7k when I ask it to. If I had the resources I'd definetely just make a holder to be safe. __________________
1995 318TI base. 95 2.5L from 325IS. S50 cams+pistons, e36 M3 front brakes. H&R race springs F+R. Turner Motorsport front sway bars, M3 control arms. M Roadster rear sway bar. Racing Dynamics strut brace. e36 325i 5spd. 3.25lsd from e28 535is. M Roadster short shifter. Conforti chip. | | | | | 09-26-2010, 12:19 AM | #606 | | NOBODY F's with the Jesus Join Date: Oct 2006 Location: Ventura California Posts: 7,824 |
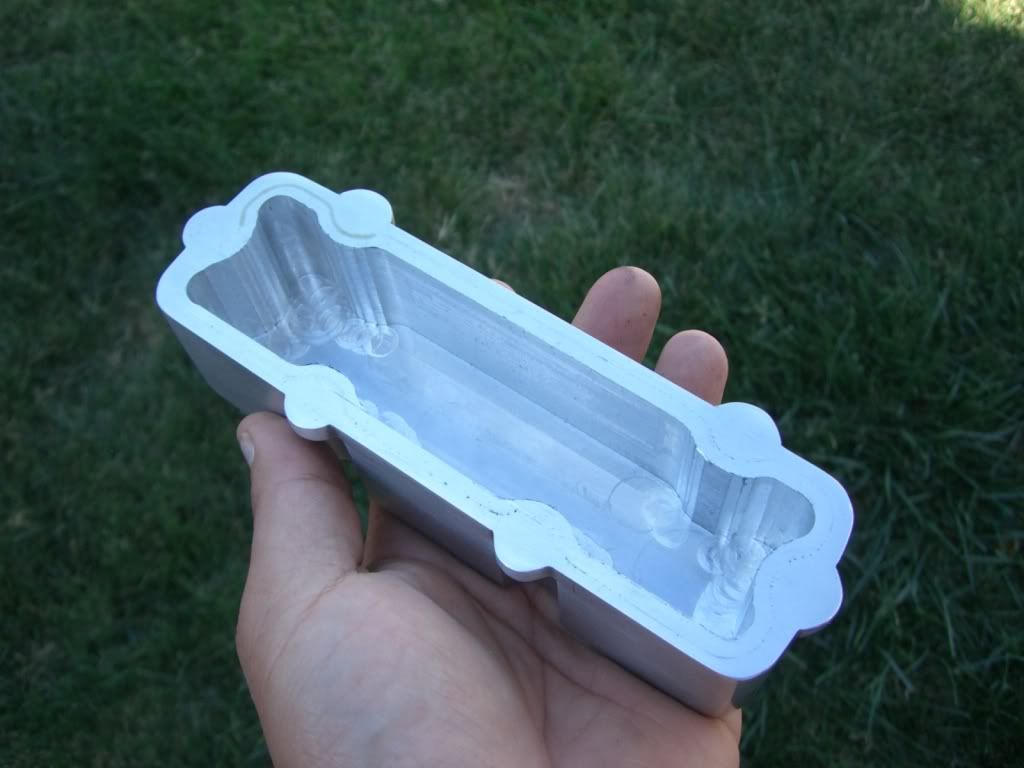
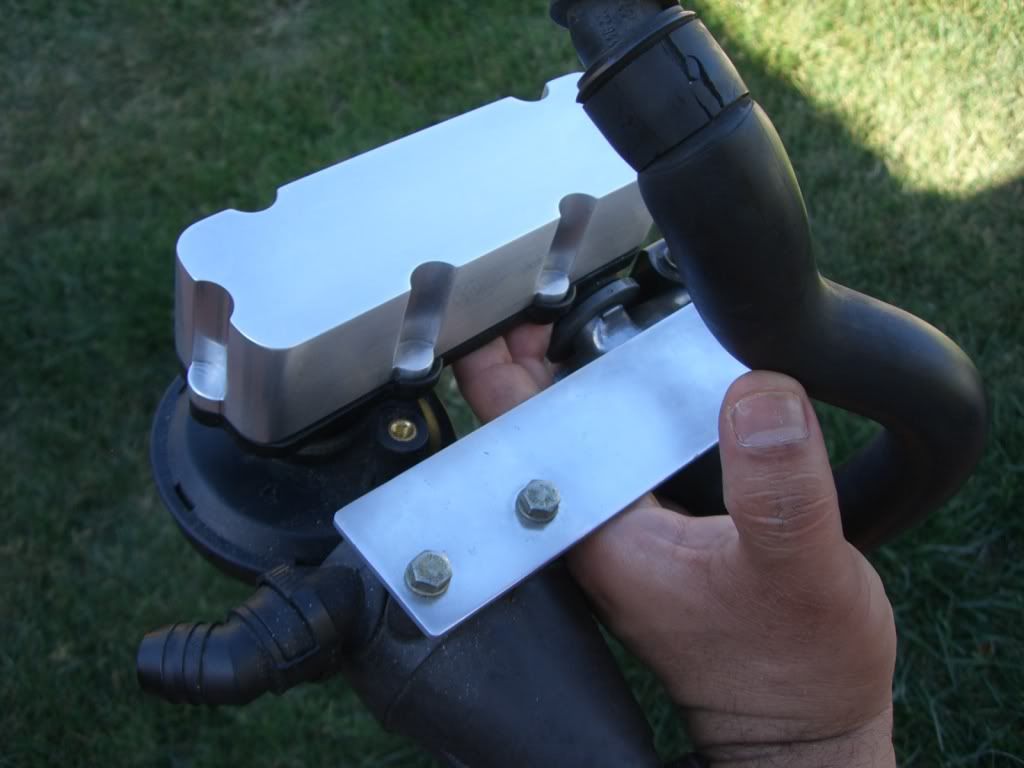
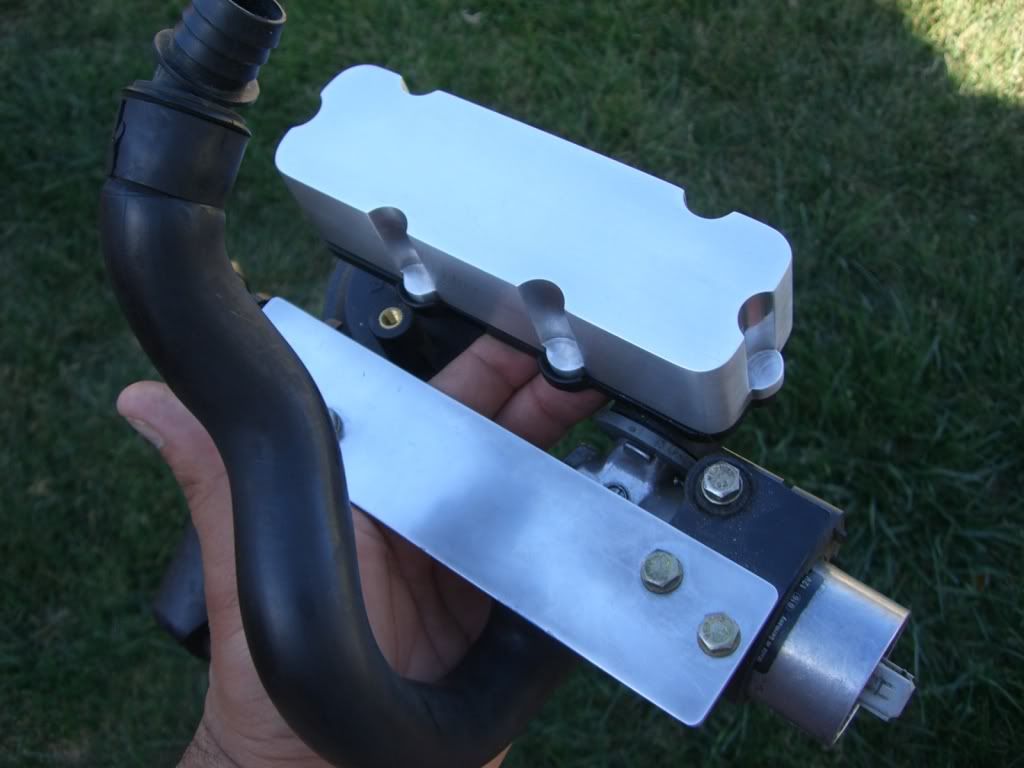
| | | | | 09-26-2010, 01:02 AM | #607 | | Senior Member Join Date: Nov 2007 Location: Rocky Hill, CT Posts: 1,065 |
Damn nice work Jess. Wish I had room for a mill  __________________
1995 318TI base. 95 2.5L from 325IS. S50 cams+pistons, e36 M3 front brakes. H&R race springs F+R. Turner Motorsport front sway bars, M3 control arms. M Roadster rear sway bar. Racing Dynamics strut brace. e36 325i 5spd. 3.25lsd from e28 535is. M Roadster short shifter. Conforti chip. | | | | | 09-26-2010, 03:35 AM | #608 | | Senior Member Join Date: Sep 2007 Location: asdfasdf Posts: 10,002 |
that's going to look good, I really can't wait to see this all together | | | | | 09-27-2010, 05:27 AM | #609 | | Senior Member Join Date: May 2007 Location: LA, Bellflower, CA Posts: 3,613 |
good work jess. its coming along nicely again. __________________
-Theta Chi-
Float like a cadilac, sting like a BIMMER
.... my socket is just too thick and won't fit in the hole! damnit!
Marv's 332ti is in the werks. Stay tuned ya'll ...
Check list: S52 swap, manual transmission swap, 3.25 LSD with M Coupe diff cover, SuperSprint muffler, M3 style mirrors, AFE intake, ASC delete, M50 Manifold swap, UUC strut bar, ZHP lighted knob, Vaders, M-tech interior, OEM armrest, AC Schintzer front lip, AC Schnitzer rear spoiler, Roof spoiler, 18'' rims, M3 front drilled brakes, LED interior lights, 3 spoke Euro style steering wheel, OEM roof spoiler and bike holder, Thule fairing, Euro tail lights, oil pressure guage, carbon fiber hood painted to original paint (still showing CF weaving), what's next to do...? | | | | | 09-27-2010, 05:38 AM | #610 | | Moderator Join Date: Mar 2007 Location: Maryland Posts: 3,220 |
jess that looks better than the adapter offered in the kits! | | | | | 09-28-2010, 02:56 PM | #611 | | Senior Member Join Date: May 2010 Location: Southwest England Posts: 379 |
ah man
this thread makes me so jealous you get to hang out in nice weather all messing around with tis and swapping bits over and teaching each other how they work. OK the brush fires are a bit much... but here it's just rainy all the time and my BMW specialist is too busy to even chat about the weather unless it's on the clock! Well, that's not so true, but they are flat out 101% of the time and definitely don't want me hanging out in the workshop all day learning their trade, heheh | | | | | 11-05-2010, 04:58 PM | #612 | | NOBODY F's with the Jesus Join Date: Oct 2006 Location: Ventura California Posts: 7,824 |
Little update, nothing major. Had another delay trying to free up some space. The M3 skeleton is now gone. Cops haven't shown up at my house yet, so I'm assuming everything checked out at the scrapyard. Garage is cleaned out, tools organized and the ti is back in it's stable. The car took a little beating from the elements due to sitting outside for so long. The gold bolts on the rear wheels will need to be replaced due to major rust  Front ones are okay, no rust(Front of car was covered with a tarp). Rear rotors got a little rusty from sitting, nothing a wire wheel on a drill can't clean up. I am going to paint the rotor hats and outermost edge of the rotors, just to prevent them from rusting again. Should've did that before anyway. The ball joint threads have a little rust as well as the differential/hafshaft bolts. No biggie, it's all just orange surface rust and it can all be cleaned up and protected. The only thing that needs to be replaced are the gold bolts(68 of them @ $1.50ea). Last night I tried drilling a safety wire hole in my oil pump nut. Didn't get far, actually I didn't even get started, lol. The tiny drill bit was too small for my drill press chuck. The nut is hardened steel and I had a feeling it would've killed my drill bit anyway. So I ordered a predrilled oil pump nut from rallyroad.net which should be here in a couple of days. Not really a fan of the tack welding method(too much heat for the timing chain and sprocket), I'd rather use safety wire and loctite. Today's plan is to take the engine off the stand and replace the rear crank seal, clean up the engine compartment and degrease the tranny. Once the oil pump nut arrives, I should be ready to install the oil pan, clutch/flywheel/tanny and drop the motor in. Then it's just a matter of finding a place to mount my M50 manifold adapter, connecting some hoses and installing the wiring harness. I have a few new goodies waiting to install. I bought a Mishimoto aluminum radiator, an ECS tuning aluminum water pump pulley, and a Seibon CF hood. Spent about an hour carefully removing and trimming the M3 door sill covers to fit the ti. Lol, then I went to install them I found out the clips don't line up. Side to side wasn't a problem since they slide in a track, however the track is about an inch too far inward and the trim panel hangs out beyond the door sill despite being trimmed to fit(I trimmed the top edge of the trip because it's hidden under the rubber weatherstrip. Trimming the bottom would look awful). So the door sills are set aside until after the car gets painted, then they'll be glued on with windsheild adhesive  I'm also ordering a TDC tool since my UUC flywheel doesn't have a hole for the flywheel locking pin  This tool threads into the spark plug hole and moves with the piston stroke. There's two types, one has a rod with notches and the other has a dial. Any recommendations? Sorry for the unexciting update guys, bare with me, it's getting really close 
Last edited by cooljess76; 11-05-2010 at 05:01 PM. | | | | | 11-05-2010, 05:03 PM | #613 | | Moderator Join Date: Mar 2007 Location: Maryland Posts: 3,220 |
the threads on the ball joint isn't the only rusty thread around here  | | | | | 11-06-2010, 01:17 AM | #614 | | Senior Member Join Date: Sep 2007 Location: asdfasdf Posts: 10,002 |
Quote: Originally Posted by BMW_Hatchback the threads on the ball joint isn't the only rusty thread around here |  I'm surprised the bolts on the wheels rusted just from sitting, kinda makes me question how good the quality really is on them | | | | | 11-06-2010, 08:10 PM | #615 | | Senior Member Join Date: Feb 2007 Location: Avondale, Az Posts: 203 |
Jesse, I'm on the same boat as you with the flywheel/timing issue. What I figured is use a stock automatic flex-plate then take it off & install the flywheel after the motor is timed. I have one from an auto M3 sitting in my storage that I can let you borrow whenever you get to timing your engine. Let me know. | | | | | |
| Currently Active Users Viewing This Thread: 1 (0 members and 1 guests) | | |
 Posting Rules Posting Rules | You may not post new threads You may not post replies You may not post attachments You may not edit your posts
HTML code is Off
| | |
|


 Linear Mode
