1. Jack up the front end of the car as high as possible and support with jack stands
2. Remove wheels
3. Support engine from the top. If you have an engine hoist, now is the time to roll it out. I didnt so I did the following:
a) Obtain a piece of 4x4 wood at least 50 inches long (measure between the shock towers to verify this length). I had an old piece of fence post lying around so I used that.
b) Attach a short piece (about 8) of 2x4 wood to each end of the 4x4. This gives the 4x4 some clearance over the top of the engine. I used countersunk wood screws for attachment.
c) Place some sort of padding on top of each shock tower to avoid scratching the paint. I used towels. Put the ends of the 4x4 beam on the padded shock towers.


d) Attach one end of a ratchet strap to ring at the front of the engine just above the oil filter housing (see picture).
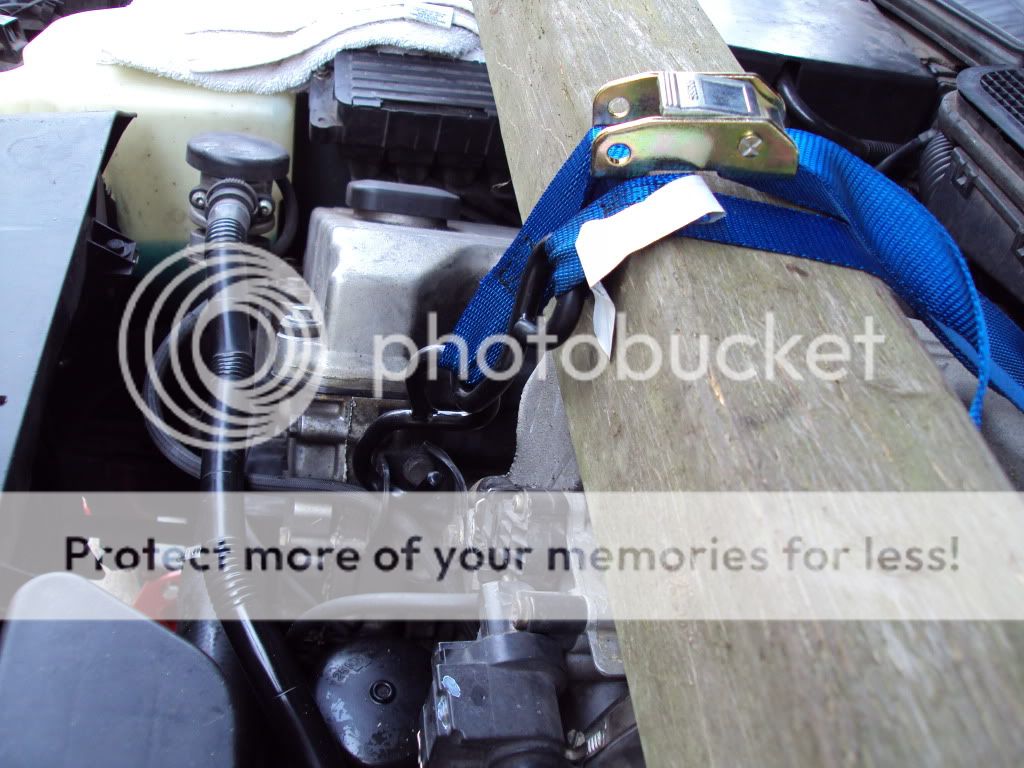
e) Attach the other end of the strap to the nub at the back of the intake manifold (see picture).
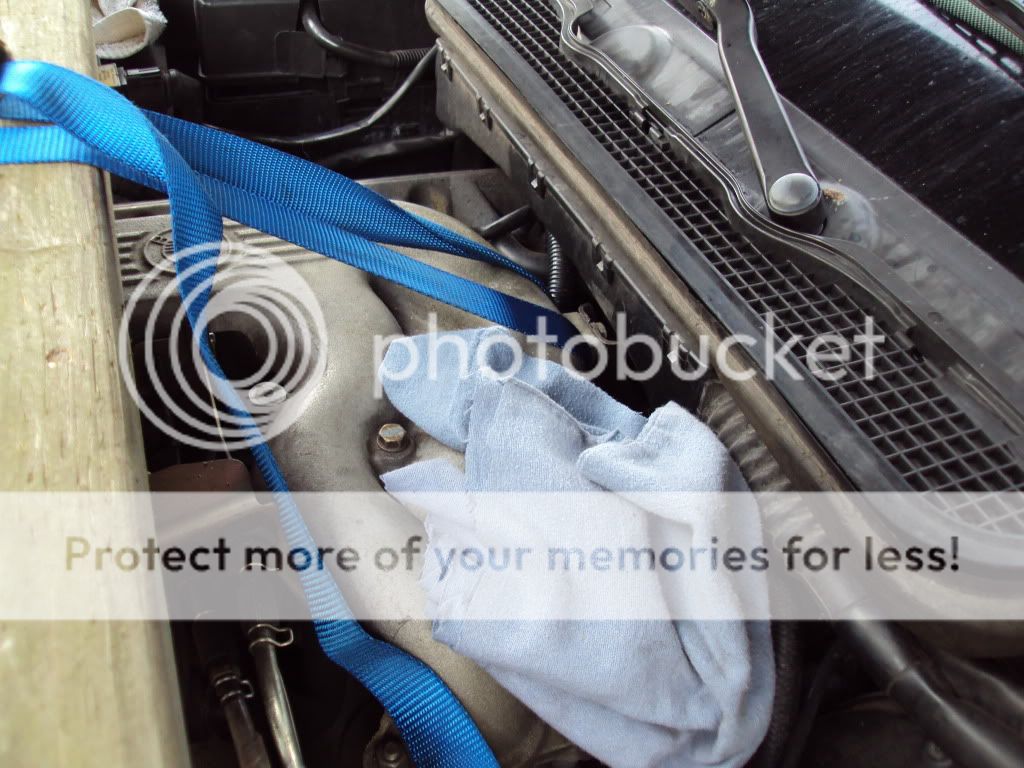
f) Tighten the strap as much as humanly possible. When weight is applied, any kind of nylon strap will stretch and this will reduce the amount of room you have to work with underneath. I actually jacked the engine up from underneath after I disconnected the motor mount lower nuts and then tightened the strap more.
g) If you are going to jack up the motor, remove the two bolts in the transmission to exhaust bracket
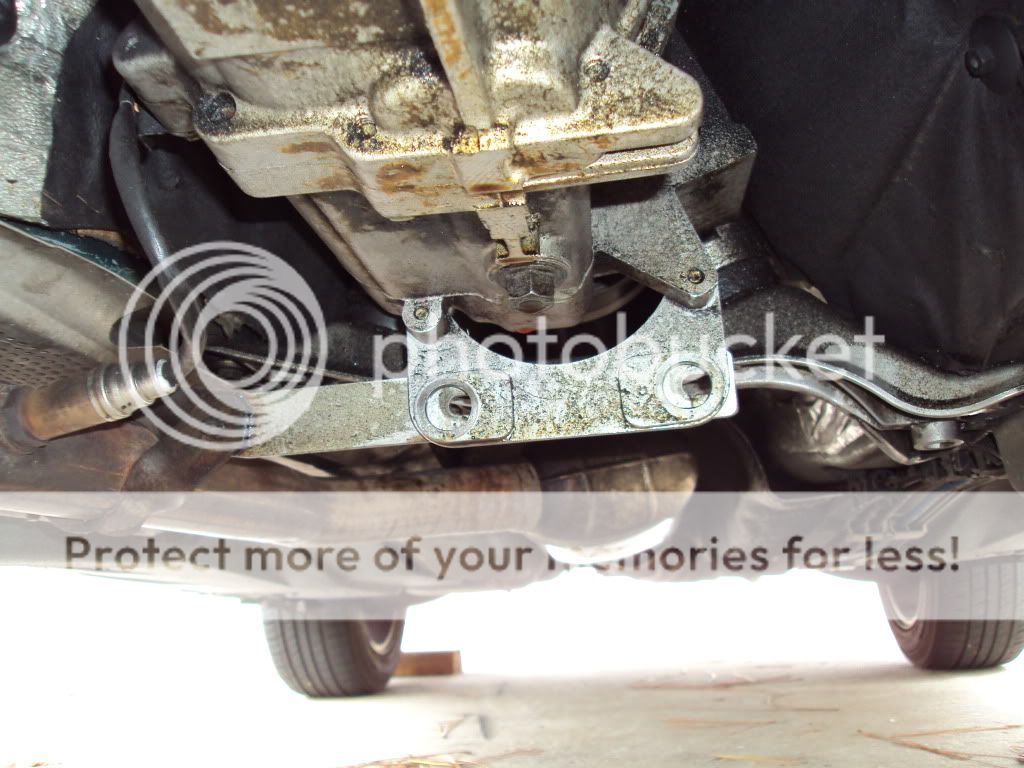
and loosen the main transmission mounts.

4. Remove lower motor mount nuts.


5. Remove the rear control arm mount bolts.

6. Remove the front sway bar.
7. Remove the steering rack mount bolts. These are a bolt/ nut arrangement. The nut is on the top. For some reason I didnt take a picture of these but they are the bolts that hold the steering rack to the front subframe.
8. Place a jack under the front subframe and apply some light pressure to the subframe.
9. Remove the 4 subframe mount bolts.
10. Slowly lower the jack. Watch to make sure the subframe is coming down with the jack. I had to persuade it a little with a prybar but not much.

11. Separate the steering rack from the subframe.
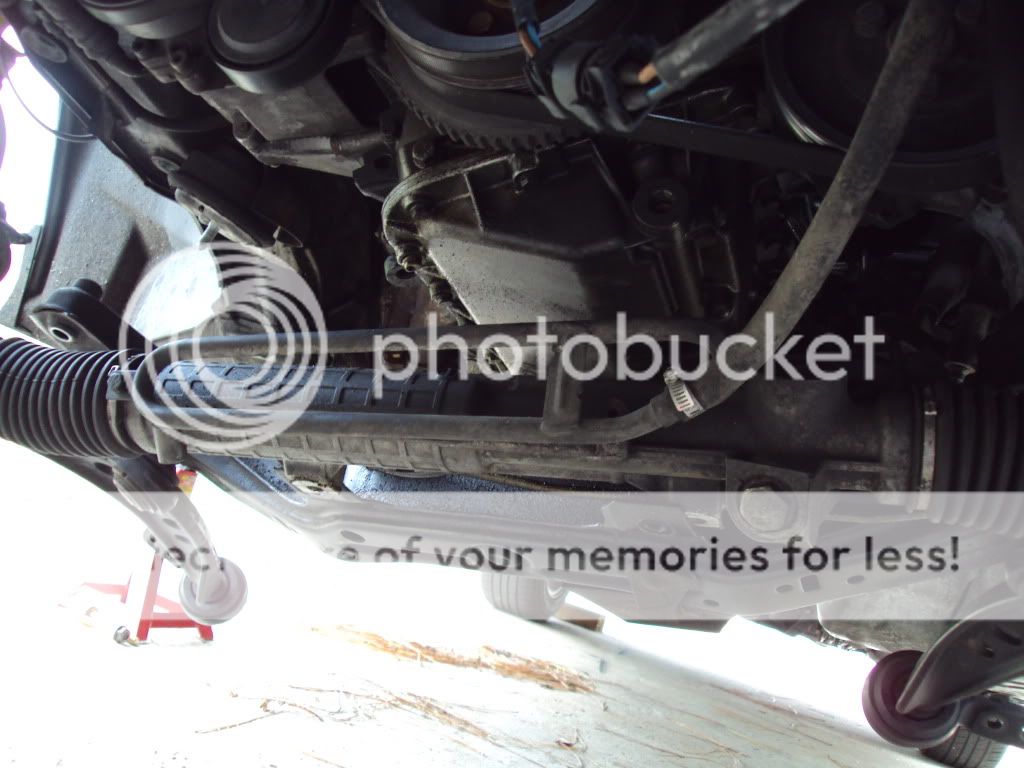
This gives some extra clearance for the oil pan.
12. Remove the oil pan bolts. Be sure not to miss the bolts that are under the bell housing. They can be reached through these access holes.

IRRC there are two on one side and one on the other.
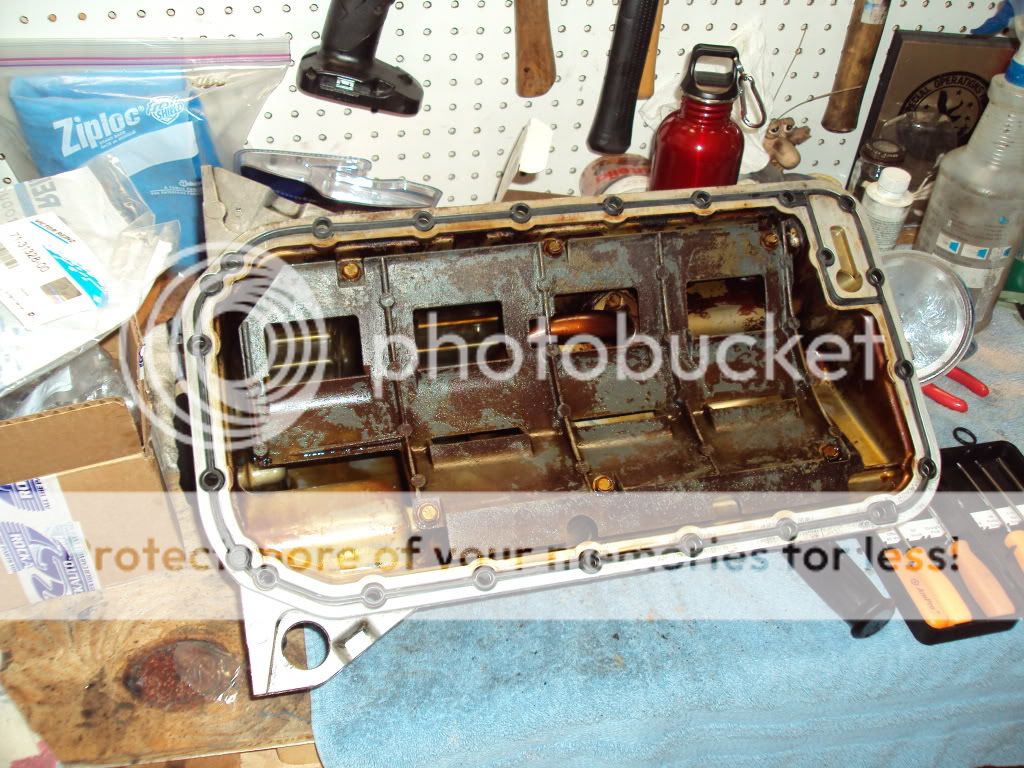
13. Remove the oil pan. This should not take much force so if it is being difficult, make double extra sure you have all the bolts out. Refer to a tech manual to be sure. Here are some of the sneaky ones.


14. Remove the old gasket, make sure the sealing surfaces on the engine and the pan are clean, and install the new gasket. Pan with new gasket installed:
15. Installation is reverse of removal. I torqued the oil pan in a cross pattern starting in the middle and working my way out. This really wasnt that hard, dont be scared


 Linear Mode

