Up and over the rear seat platform. If you look at the base of the rear seat against the bulkhead, there's a plastic track that looks as if it were meant to route the cable. I used this track and the cable snapped in place perfectly:
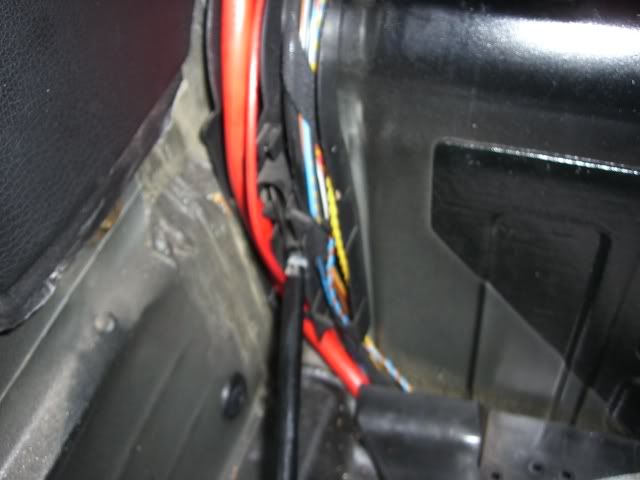
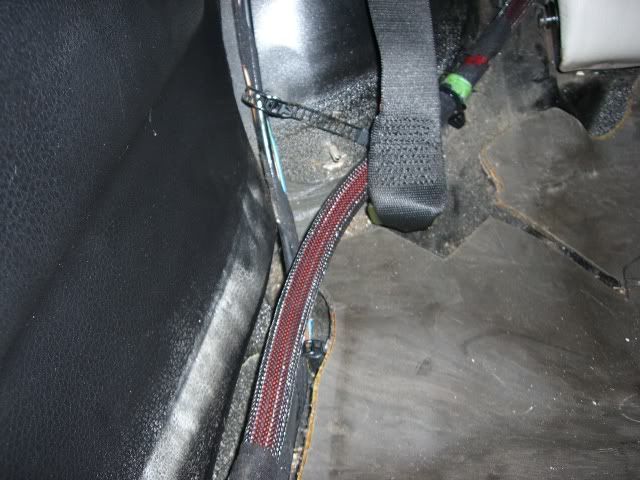
Over the rear seat along the bottom of the side panel and into the cargo area. I routed the cable behind the carpeted side panel in the cargo area. Make sure that the seatback will not damage/chafe the cable when you raise and lower it. I chose to go behind the rear passenger's seat belt so it wouldn't be disturbed when rear passengers buckle up:
Step 12)MOUNT THE BATTERY
You can't have the battery sliding around in the cargo area. It needs to be secured somehow. That being said, you're on your own until I actually mount mine. I plan on removing the storage compartment on the passenger's side of the cargo area. This will not free up enough room for the battery thus modification of the tool/jack compartment will be necessary. I also recommend using the 318ti's stock plastic battery box to contain the battery and protect the terminals from shorting out on gear and materials sliding around in the cargo area as well as contain any possible leakage of the battery. You'll also need to find a ground to mount your negative cable to. I'm probably going to weld a stud to the chassis somewhere in the tool/jack compartment so the negative cable can reach the terminal on the battery.
Step 13) REASSEMBLY
Refer to steps 3-6 and put your interior back together. Remember to connect the three plugs under the passenger seat, two plugs above the glove compartment and single connector to the leg well light. Also, remember to connect the positive leads from the engine wiring harness to the appropriate terminals on the distribution block.
Step 14) HOOK UP THE BATTERY
YOU'RE DONE!!! Hope you found this tutorial helpfull. That trim panel along the door jam was a bitch wasn't it

Happy motoring you SIX CYLINDER
///MANIACS